keskiviikko 30. maaliskuuta 2011

Slonim – To Take and Hold

Still more early Barbarossa Battleground WWII goodness.
Also tried new simplified cc rules.

Germans have encircled a large amount of Soviets around the town of Slonim and are expecting tehm to try to break out. Here we have German tanks supported by some little infantry guarding the railway bridge.
Three truck of engineers arrive to the town along with some AA halftracks. They have orders to secure the remaining bridges.
All the hell breaks loose as Soviets hidden in the town ambush the German convoy. Luckily Molotov coctails have been handed out to butterfingers and all of them explode in the hands of their users! Which doesn't really help the poor jerries shot to pieces at point blank range.
The last AA halftrack drove away from the ambush alley and started setting up in support of an engineer squad but the ambushers just dragged their Maxim to that side of the building and ripped the jerries a new one! The second trcuk halted just after the square and the Germans assaulted the building on the left (a synagogue no less) only to be thrown out.
Flaming German vehicles was the name of the game. The first truck did manage to drive away unscathed and can just barely been seen in the woods outside the town on top left. The ambushing units are placed right next to the building side they are located in since putting them inside these old Warhammer buildings is an impossibility. The last engineer squad that had parked on the other side of the square actually managed to capture the red building and kill/capture the Soviets defending it in a bloody melee.

-Janne
(Played: February 28th. GM: Mr H. Soviets: Aksu. Germans: Mr V, Janne)

Morning Milk

Another Battleground WWII early Barbarossa scenario from Paul Carrell books.
More or less direct continuation of the previous game.

The area has been shelled and as the dawn breaks a Soviet platoon arrives to the scene in trucks.
The platoon wanders about.
Suddenly a machine gun opens up on one of the Soviet squads and the surviving troops scatter about to the woods.
A lone German MG34 has opened up and caused dissarray in Soviet troops.
While their broken comrades seek shelter in a shellhole more stalvart troopers start to milk the lone cow.
Soviets seek positions here and there and some additional Germans arrive to the edge of the same woods as the MG.
A hut is being contested by both sides. The Germans draw the shorter straw and lose half a squad from their two available squads (that were spending the night in the woods). But the Soviets also have to retreat. In the pic we stll have the Jerries alive but soon some grenades made short order of them.
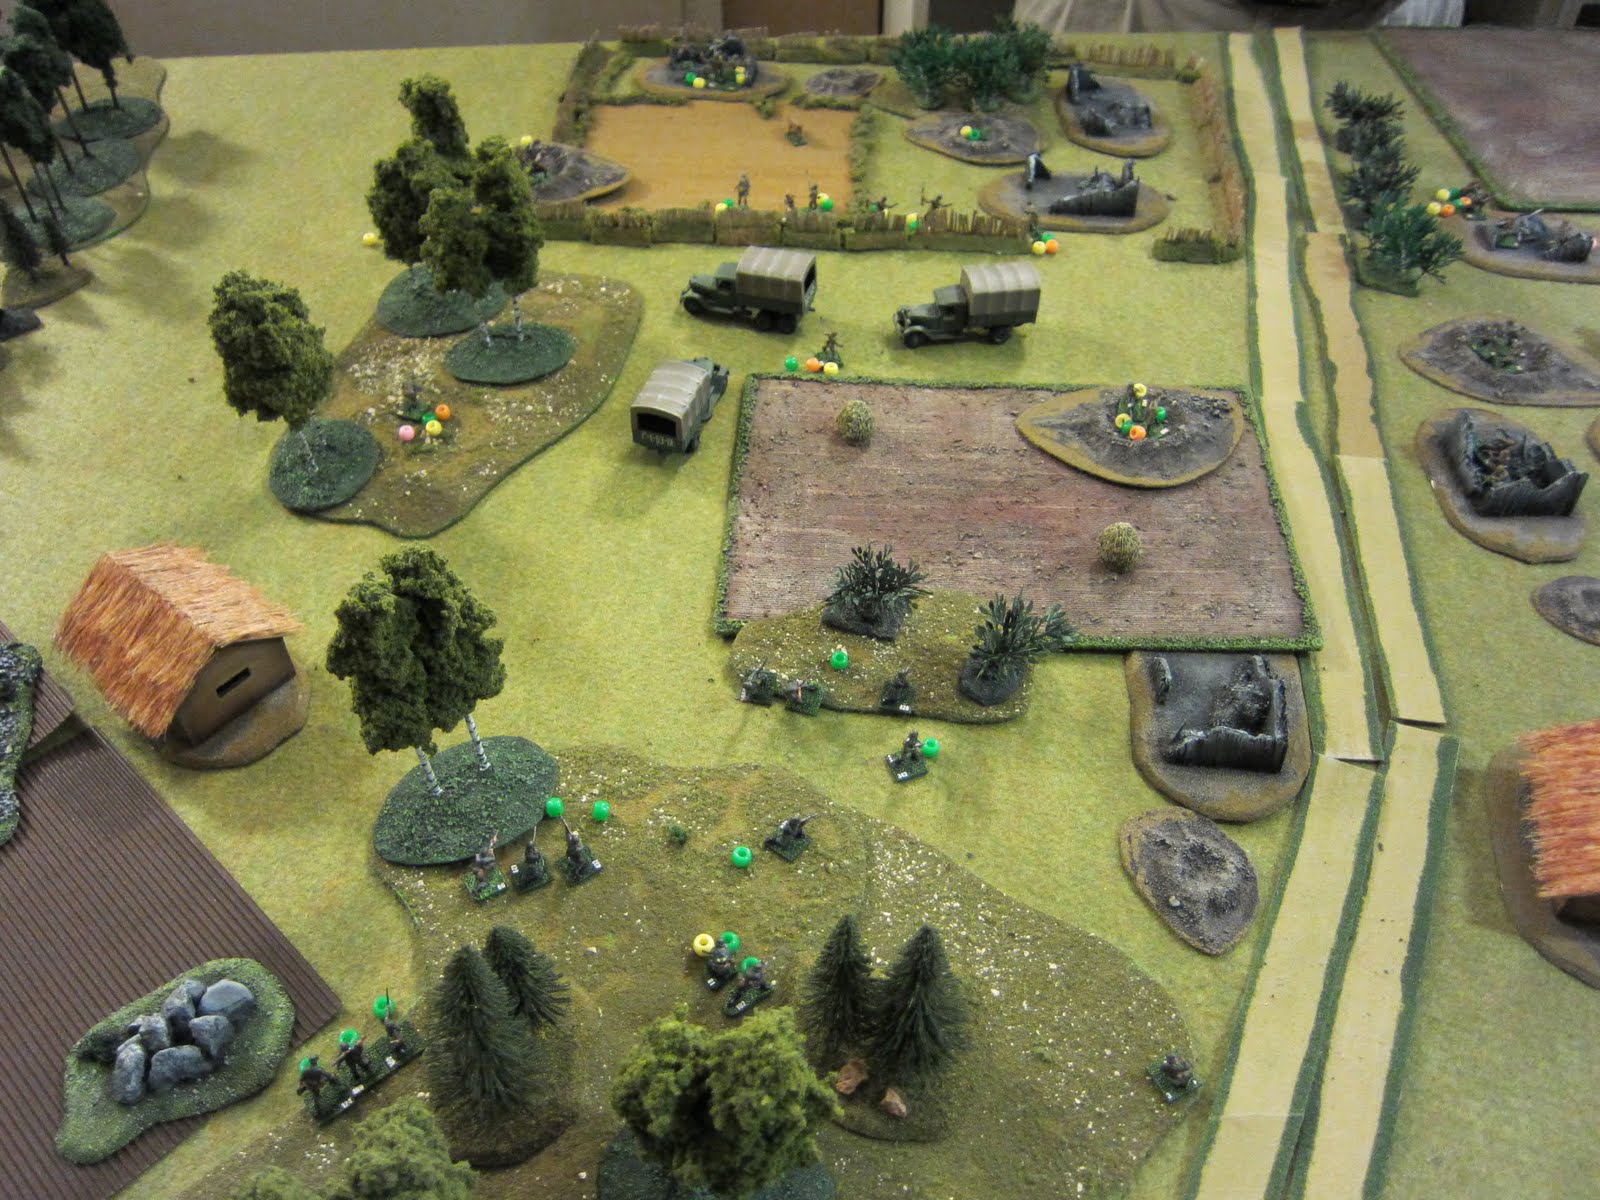
Having scattered the Soviets from the woods left the Germans press forward. Plenty of Soviets are in no fighting condition (markers: yellow = broken, orange = light wound, pink = gun jammed, green = prone)
The Soviet platoon leader tries to put a sembalance of a line behind the fence while unluckier soldier crawls towards his fellows.
When al the Soviets in the vicinity have been broken, Hans & Jürgen, who had been getting morning milk from the cow when the Soviets arrived, finally arise from the shellhole they were hiding in. They actually were spotted by a broken Soviet soldier running to the safety of the hut (which has it's exterior removed for easier access to troops).
Aksu shows off the fare well present he got from workmates when he left UK, a pipe that has a laser pointer! Would be even nicer if you could smoke with it (even if Aksu doesn't smoke...)
Bits of Soviet resistance that were clobbered into submissing with raking fire from one MG34.
Soviet platoon leader managed to rally himself while Hans and Jurgen were sneaking behing the hut. Since all Soviet squads were broken with 50%+ casualties they weren't going to be rallied permanently and as Germans had lost a quarter of the troops trying to take the hut GM decided that the fate of the battle would quickly be resolved in a close combat extravaganza between the Soviet platoon leader and Hans & Jürgen. Hans was killed but Jürgen clobbered the platoon leader into submission and returned to the other Germans with half a platoon of Soviet prisoners.

Soviets had to endure the initial ambush salvo from the lone MG34 (other Jerries were sleeping at that time) and Janne got pretty darn good results from it. Later on he raked the Soviets into submission with the MG. The other Janne managed to lose half of his already depleted squad (Hans & Jürgen were hiding behind the Soviet lines almost the whole game) which threatened to turn the tide but the remainder of the squad promptly put the end to the Soviet advance.

But had the initial ambush salvo resolved differently the Germans would've most likely been in dire straits since there were so few of them.

-Janne
(Played: February 21st. GM: Mr H. Soviets: Aksu. Germans: Janne times two)

keskiviikko 9. helmikuuta 2011

No war today. Prepare some fields instead

We had a no-show this time with only one player and GM showing up. This was OK since after previous game Janne had started in his spare time a terran project he had been itching to do for ages. Namely fields.

While fields tend to have little effect on games ruleswise they do have an immediate visual effect -miniature gaming is a visual hobby after all. Regular fields and poughed ones were needed.
Building the fields was straightforward enough.
Note: first make a test piece to see how the process works for you after which do a big pile at one go.


For bases you need hardboard and itis cut to preferabe sized pieces. You might be able to have this done for you at the store for a small fee (recommended!), but ours were leftover pieces from our 1808 project. Making the pieces too large is sure to cause excessive warpage and smaller pieces offer more versatility so Janne had opted A4 and A5 sizes for the fields.

If you saw the hardboard to suitable size collect the sawdust. Do the same when you round the edges a bit with sandpaper.

You can make some shallow diagonal cuts with an utility knife to the bottom of the pieces in order to lessen warpage. Be advised that when you try to bend such cut pieces after warping they'll be even more prone to breaking. So always bend such pieces gently!


Ploughed fields are much easier to do than regular fields so let's start with them.
You need:
-suitably textured wallpaper
-sand
-PVA glue

Cut from the grooved wallpaper pieces that ar ethe same size as your hardboard pieces. Then remove some 5mm or so from one long and one short edge so that the wallpaper most certainly will be smaller than the hardboard it'll be glued to and there's no overlap.

Slap some somewhat thinned down PVA to the hardboard and place the wallpaper on it. After a short while you might want to check the pieces and iron out any major wrinkles with your fingers.

When the wallpaper is dry apply some ever so slightly watered PVA to one side of the field so it covers the edge of the wallpaper as well as the side of the hardboard. Dip into sand and repeat with other sides. Naturally if you prefer other scenic products to sand you should use those instead! Let dry until at least this has begun to dry.

Make a thinnish mixture of PVA, water, sand and the sawdust you collected earlier on and slop some on top of the wallpaper to give it more texture. Let dry throughly.

After this you need to paint the pieces. We started it with giving the fields a black basecoat spray after which just used interior acrylics because their obviously much cheaper than the hobby variety. One or two drybrushings with lighter shades should suffice.


With the regular fields you need slightly more stuff:
-uncolored coconut fibre doormat
-some thinnish (1 mm) cardboard
-sand
-PVA glue
-hot glue gun
-some (ready to use) filler

The biggest problem involving a field with crops is that your miniatures won't be able to trample it as would happen in real life when peole run about in fields. The figures will be standing on top of the field instead and this'll look dumb.

Some years ago there was an article about making fields probably in WGI and we lifted the idea for our fields. You need to make a hedgelike frame for the field and separate contents for it. Cutting the contents to several pieces will enable you to remove just what you need in order to place the figures on the field.
Locating suitable doormat might be difficult as most seem to be printed with bizarre designs or garish texts. In desperate situation we imagine those could be painted over but we'd assume that this would be such a bother that we haven't tried it out.

Optimal doormat would come with thin (2-3mm) rubber bottom, but we didn't find any such had natural colored fibre. Tough! Anyhow, such doormat would need little else than just cutting it up to suitable sizes. Anyone who knows where such doormats can be purchased, please DO NOT hesitate to contact us! (gemigabokATthe-ancients.com)

The most suitable doormat we located was Trampa from Ikea costing some 10 euros. On the sides of the bottom Trampa has a really thick layer of rubber or somesuch making those areas unusable, so first you need to cut them away with an utility knife.


Now use one hardboard terrain base as a guide and draw the outlines to the bottom of the doormat with a felt tip pen. Cut away with utility knife. From this piece you first need to cut the edges (~1,5 cm) away to make the frames for the field.

If using Trampa or other doormats with no separate bottom material, glue the non-framing pieces to the thin cardboard with PVA (or hot glue gun if you want to avoid warpage). This is to avoid excessive breaking of the pieces during further cutting.

When at least somewhat dry (after one day the PVA was still somewhat soft, but after two days a bit too hard) remove the excessive cardboard. Then cut the piece in two. Then cut the other of these halves in two. You might even want to cut one such quarter into two. Most probably you need to cut some excess off each piece in order to make them fit your framed field -you could do so while the piece has only the frame removed.

When dry, use filler to mask outlandisly big gaps and paint the filler/cardboard with suitable earthen colors.


During cutting collect the coconut fibre that comes off. Apply watered down PVA to the hardboard and sprinkle some of this fibre to it. After it had dried, basecoat it with black spray but no need to paint yet unless you really want to. This'll represent the trampled down crops when interior pieces are removed from the field to make room for the figures.


Using hot glue gun fasten the field's frame pieces to the sides of the hardboard leaving 1-2mm empty on the sides. If you have some big gaps use some filler to fill them.

Apply some ever so slightly watered PVA to one outer side of the field (between the frame and the edge) and dip into sand and repeat with other sides. When dry, paint the sand green. Naturally if you prefer other scenic products to sand you should use those instead! Paint interior area of the field with suitable earthen colors with one or two drybrushings.


If you make several fields it is most likely useful to mark with a felt tip pen each fieldpiece and hardboard so you'll be able to locate the right pieces for each field even if these get mixed up.


Finally our field revue starts with a platoon of 28mm Bicorne Swedes/Finns painted as Savo Infantry pressing onwards with some skirmishers up front. Trampa is definately best suited for 28mm action!


Moving on to more modern Finns, here an armoured car is speaheading the 20mm Finnish advance. (The soldiers are converted plastic Germans and Russians from various manufacturers).


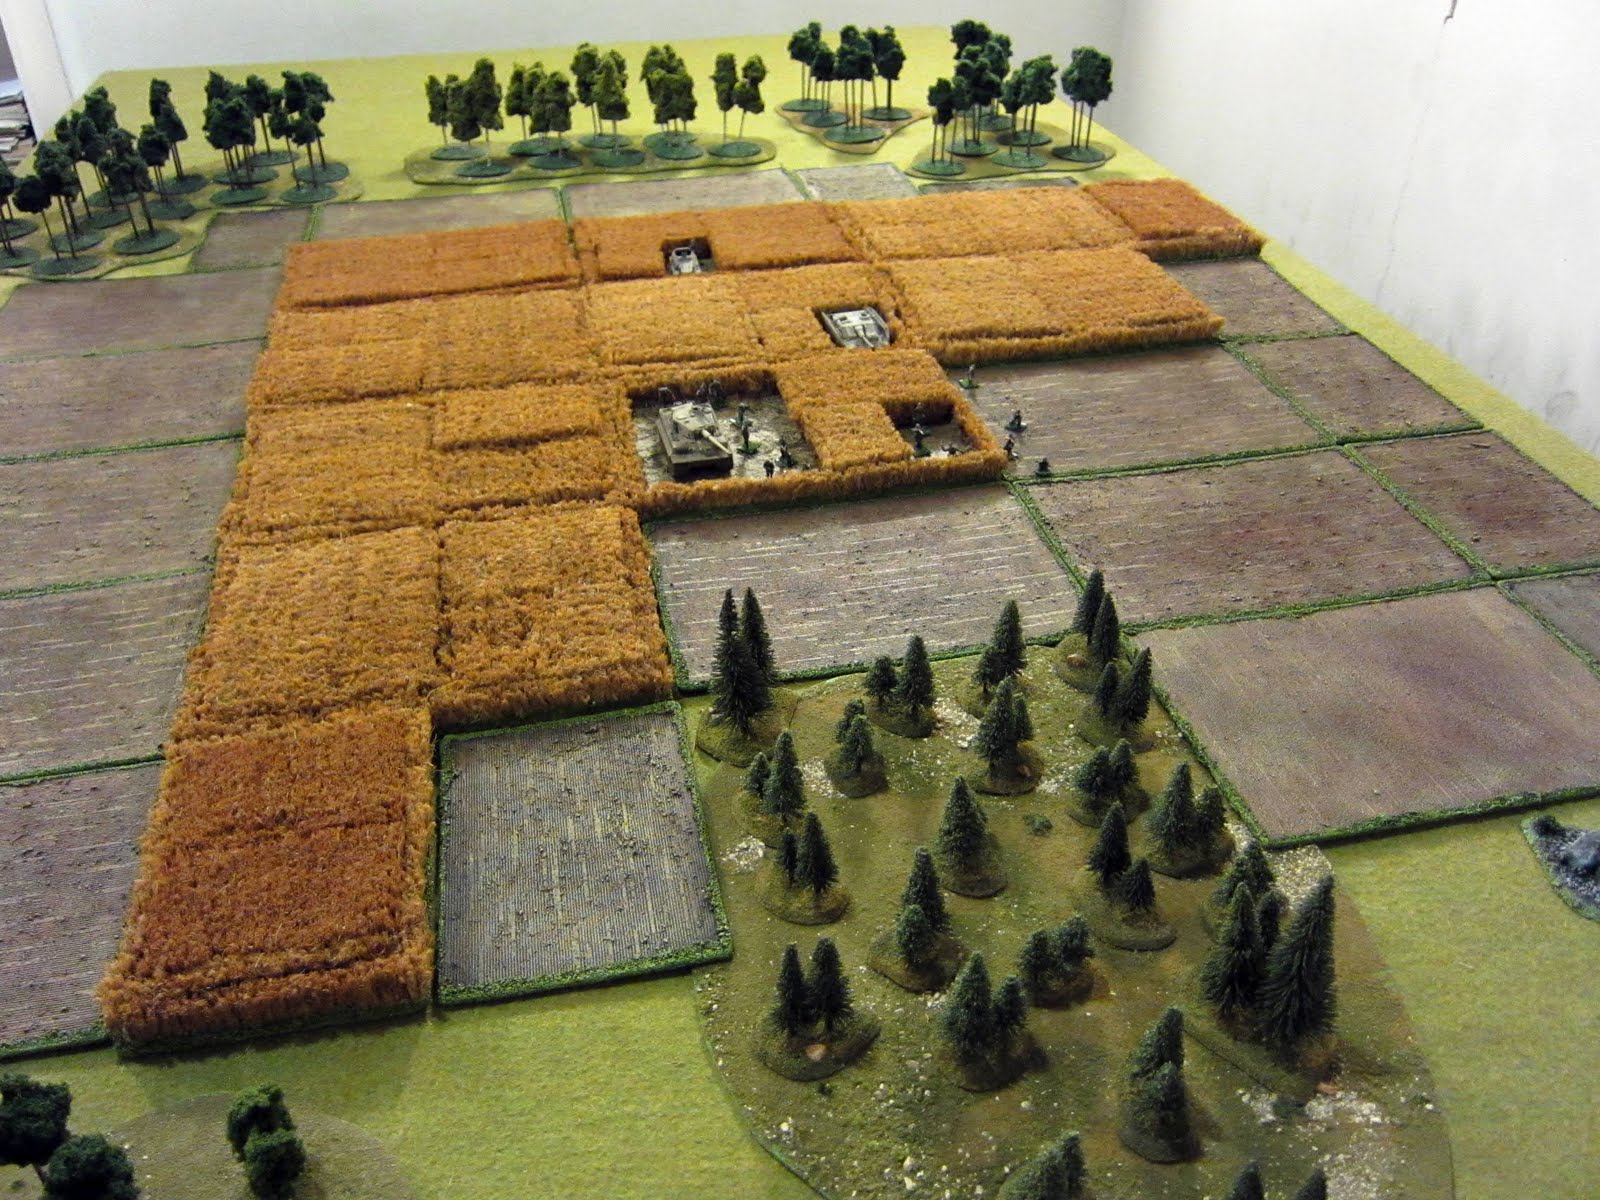
And finally we have some tank supported 20mm German infantry making headway through the fields.

-Janne
("Played": January 24rd. GM: Janne. Faithful handyman: Mr H.)

sunnuntai 23. tammikuuta 2011

Battleground WWII, Barbarossa

Yet another early war Paul Carell -scenario from Mr H.

At dusk a squad of motorized Germans was left behind from their platoon due to a flat tire. Whe they had made repairs they followed others but failed to notice that these had at one point driven off road in order to make camp for the night. This one squad notices a small village and other trucks disembarking troops in it and stops thereo rest for the night. From the opposite other sides of the road the disembarking troops notice that something is terribly wrong -the troops on the other side of the road are the enemy!

Crappy Gemigabok night-o-vision is again enabled in this blog entry, this time with added tracers and such.


Initial setup.


On second turn the remaining squads of the German platoon arrive as they immediately started following the wayward squad when their truck passed them. The hapless German squad has barred itself in a hut and is getting fire from two squads of Soviets, MG from the one in open and one from the hut. The remaining Soviet squad is flanking the Germans from left.


While the Soviet MG in the open and half of the Soviets in the hut keeps the Germans in the hut pinned the two squads close up on the Jerries. Meanwhile the German reinforcements pile up fire against the Soviet hut which is also partly illuminated by the German truck. The German platoon leader is immediately wounded as is his Soviet counterpart in the hut.


German reinforcements of the leftmost squad have their leader and assistant leader become heroes (the assistant rolls from Knight's Cross!) who decide to to advance towards the Soviets. The other leaders do the same as well and the ones from the rightmost squad get close enough to lob some handgrenades, unfortunately while ying in the ground illuminated by their won truck. Meanwhile the other German squad is pinned by the Soviets that creep closer and closer.


With he truck lights switched off, the Germans assault the hut and majority of Soviets surrender and the Germans start pressing onward.


As the Soviets managed to assault and capture the one German squad furher up they decide to throw a molotow on the German truck and embark ther own trucks and disengage.


Once again good 8 turn scenario from Mr. H. The nightfighting went smoothly but we had some probs with the huts even if they have removable walls/roofs leaving a burned out walls and rubble on the base -some kind of layouts or such need to be done for interiors.


-Janne
(Played: January 17rd. GM: Mr H. Soviets: Mr V. Germans: janne)

sunnuntai 9. tammikuuta 2011

Battleground WWII, Barbarossa

Another early Barbarossa scenario!

Germans press forward and engage Soviet units they manage to locate. Here we have a couple of motorized panzergrenadier squads assisted with pzkfw II rooting a squad of Soviet infantry supoorted by an ATR.

Close by the German panzergenadier squad supported by stug III run across three T-26s (that were already trying to shoot the far away pzkfw II and twice just ever so narrowly missing!).

Pzkfw II lays some hoorendous supressing fire with its autocannon while the panzergenadiers push forward.
The Soviet squad boldly charges forward and manage to kill nearly al lthe German infantry. The driver of the halftrack panics and back the vehicle away despite the protests of the machine gunner. Even the Soviet comissar is impressed by this bold defence of motherland.

However the stug quicly blows up one T-26 and disable one (main gun destroyed and crew abandons the vehicle). As the last remaining T-26 tries to flank the stug from the other side of the forest two Pz 38s arrive and blow it up from the move!

The Soviet infantry is undaunted by this and the platoon leader orders a general charge but dies immediately after. The troops surge forward wanting to avenge their leader and rush over the open dominated by the German panzers into the other woods and make mincemeat oout of the last remaining German infantrymen there.

The Soviet squadleader and two other decide to engage the German halftrack right next to the wood but the lone machinegunner manages to heroically defend his vehicle with his hastily grabbed entrenching tool/rifle thereby killing the last remaining attacking Soviets.


The Soviets were doing reasonably well before the arrival of German reinforcements. At least the ones fightng near stug. On the other end they were receiving a beating. The one squad in the middle didn't do anything else than crawl forward in teh field and then backward when situation beccame hopeless.

Problem is that the objective of the Soviets was to get as many troops out of the board as possible... Well, the players just didn't want to withdraw without any combat and got more involved than thay should've. Great game but horrible blunder for the Soviets.

-Janne
(Played: January 3rd. GM: Mr H. Soviets: Eero, Janne. Germans: Mr V)

Battleground WWII, Barbarossa

Mr. H gamed us another excellent Battleground WWII scenario which was once again taken from Paul Carell's books.

Set in the inital stages of Operation Barbarossa, the Germans are waiting for the return of their recon unit and since the return seems to be delayed they send some troops eastward looking for it even if the night has fallen. At the same time the Soviets are pushing forward...


The German search party moves eastward in an attempt to locate the missing recon unit.
On the left you can see the game as we played it and on right a modified picture trying to represent what the situation would really have looked like.


At the same time the recon unit enters the table from the east end of the table. All the advancing Soviets have been placed using hidden setup. The exception to this is the T-26's which are following the German scout cars as they believe them to be on their side. On the islet left the Soviet infantry squad has noticed that German recon units are driving by so they open up. In the woods right there is a another T-26 (with the commander of Societ forces IIRC9 who stubborny refuse to believe the Germans to be enemy units (he rolls several critically failed perception rolls) and is puzzled why the infantry are firing at their own scout cars!


The T-26s following the recces finally do recognize the Germans for what they are and promptly shoot the front one to smithereens. The unramed radio car manages to escape however.


One German squad starts to flank from right but in the darkness get charged by a Soviet squad and after shooting their way out of that mess soon get run over by another similar human wave leaving just an odd few seeking a refuge behind a flanking pzkfw III.

The tank duel drags on adn Soviets score multiple hits on one pzkfw III killing the majority of crew but the tank won't ignite and the remaining crew won't abandon the tank either. Other highlights include a German soldier rolling a critical on morale table which means he becomes a hero and the hero table gives him another critical so he becomes a Knight's Cross decorated überjerry (but doesn't really affect the game).


The game was total blast!
The conditions (ie. darkness) REALLY changed the game. With regular lights a vehicle could see 12 inches forward and with dimmed "war lights" 6 inches. Visibility in the forest without any extra illumination was whopping one inch! If another night game is played we certainly have to make paper cutouts for the lights so it'll be immediately apparent how far away the lights extend and at a glance you notice who has lights on and where another forms of illumination is used.

The game actually has strange rules for light pistols since they stay around for 3 turns diminishing every round. This sound like flares to us, not light pistols (all players used both while in the army...).

-Janne
(Played: December 20th. GM: Mr H. Soviets: Mr V. Germans: Janne)